


You can trash selected items or the content of a selected box.
To trash selected items you need to select at least one item
and choose the Selected items...
menu item from the
Trash
pull down menu of the toolbar or from the Result menu.
To trash the contents of a box you need to choose the
Content of Selected Box...
menu item from the Trash
pull
down menu of the toolbar or from the Result menu.
Both menu items will open a Trash Options window that allows you to customize the action you are undertaking.
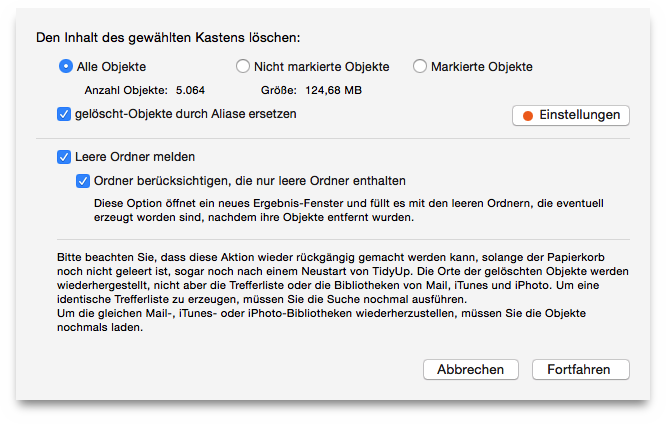
Trashoptions window.
First, select the appropriate radio button:
| All items | if you want to trash all the chosen items. |
| Unchecked items | if you have marked items and don’t want to trash them. |
| Checked items | if you want to trash those marked with a check mark. |
The information fields will be automatically updated.
lists the empty folders that are created after items are removed and lists them in a new result window. By removing an empty folder you may have created yet another empty folder, so you can use the
option to list the folders that contain only empty folders. This will reduce the total number of searches needed to just one.
Tips: You can protect yourself by following a few rules that allow you to make a safe deletion:
Do not trash items if you are unsure of what they are.
Make sure that the items you are trashing are indeed the ones you intend to trash.
Even if the decision to trash an item was made carefully, mistakes can still happen, so it is advisable to do a backup.
Since Tidy Up allows you to restore trashed items to their original location, don’t empty the Trash until certain you don’t need the contents any longer.
Example:
If you search in the Music folder and trash some duplicates
contained in that folder, Tidy Up will not be able to synchronize the
deletion as you haven't searched in the iTunes library.
Tip: Because it tracks trashed items, Tidy Up requires you to confirm the action each time you trash an individual item. To avoid having to repeatedly acknowledge the confirmation window, use the manual method to remove all the items in one operation.
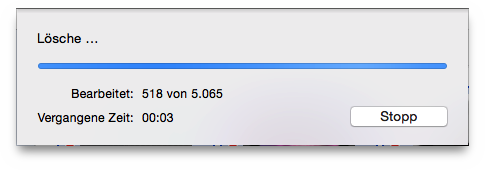
If a search for duplicates is made and the result doesn’t
contain folders, you can substitute the trashed items with an alias.
Click on the Settings…
button to set up the alias option.
This will open a window (refer to the Alias section below for the info
about the Alias window). Note that the orange dot will become green if
the settings were made.
