


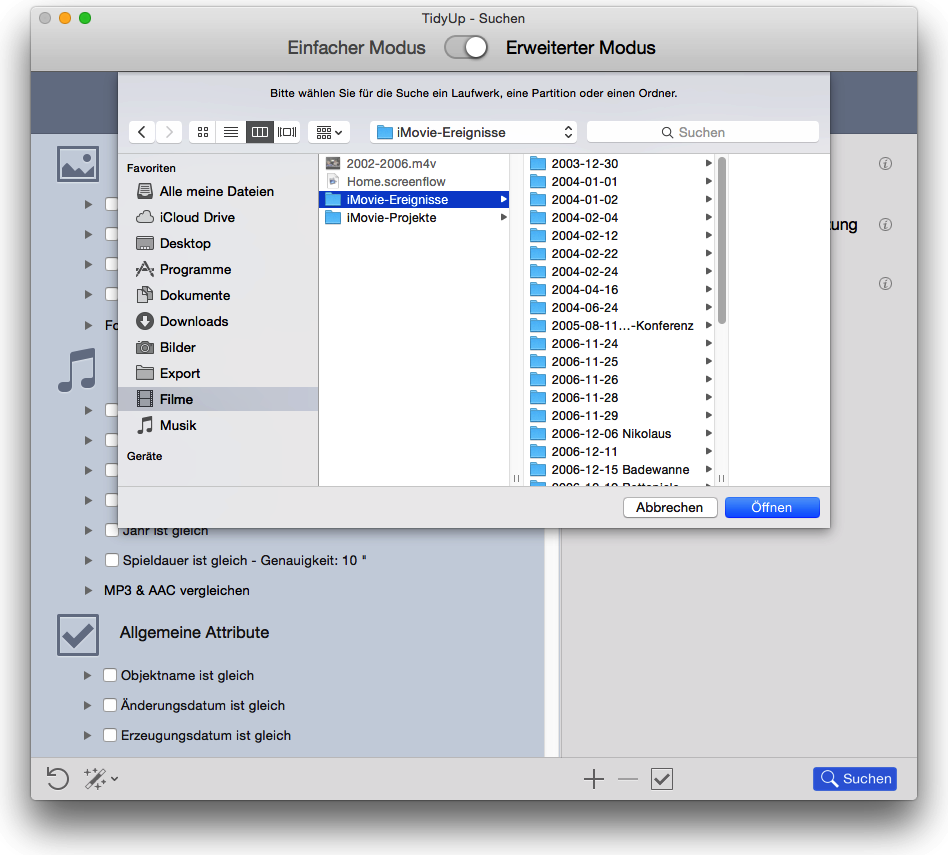
There are four ways to add a location to the Sources.
As in the first image above, click the +
button or
select Add Disk or Folder
from the Search menu; it allows you
to navigate to a desired folder through the Finder; the folder can
then be selected by clicking the Open button (in the image, the
Library folder was selected and, in the second image, has been added
to the Sources).
Navigate to a folder via the Finder, then drag it to the Sources.
Open a location already in the Sources by clicking the triangle
button beside it, select the folder to add, invoke the contextual menu
(control-click) and choose Add as a Location to Search
menu
item (last image).
Open a location already in Sources by clicking the triangle button beside it, then drag the desired items to the Sources.
Typically, it is easier to add a few specific locations than it is to select a large location such as a hard drive and then exclude all but a few locations within it. Therefore, for a targeted search, adding locations is the best option.
Another reason for choosing the adding approach over the excluding
approach is that when comparing two or more locations, Tidy Up assigns
a colored label (see below) to each location checked, treating each of
them as an individual container and enables the options that allow you
to quickly identify the items to manage (for further information see
Tag Box). The use of labels limits the search to eight locations at
time. However, you can exclude the label option from the
Preferences
window; this removes the search limit but also
removes the extra options related to labels.

